Propeller Shaft: Removal: Rear
Drive shaft removal is a two-person operation. Never allow the drive shaft to hang from the center bearing, or while only connected to the transmission or rear axle flanges. An assistant is required. If a drive shaft section is hung unsupported, damage may occur to the shaft, joint and center bearing from over-angulation. This may result in driveline vibrations or component failure."
During drive shaft removal or installation avoid any contact with the front and rear joint grease caps. Any damage to the grease cap caused by improper handling during installation or removal could cause a grease leak and subsequent damage to the CV joint. Do not pull on the shaft in order to remove the front joint from the transmission/transfer case flange, this could dent or dislodge the boot and cause a grease leak and subsequent joint failure.
The use of soft blunt tools is recommended for removal of the joints from companion flanges. Use of sharp pry tools, such as a screwdriver, will damage the joint housing and could result in driveline imbalance.
- Raise and support the vehicle. Refer to HOISTING, STANDARD PROCEDURE
.
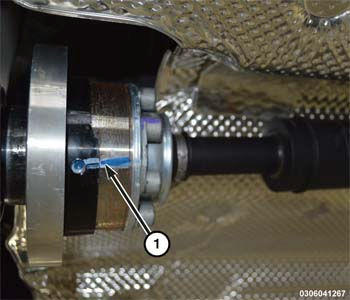
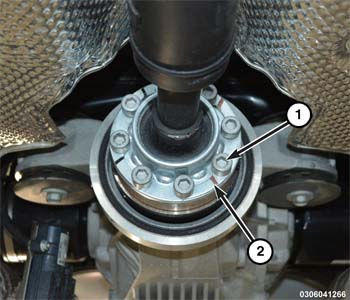
- Apply alignment index marks (1) on the transmission and axle flanges.
- Remove the rear exhaust system. Refer to MUFFLER, EXHAUST, REMOVAL
.
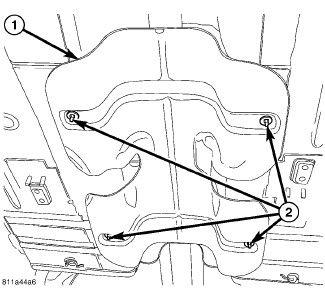
- Remove the heat shield nuts (2) and the heat shield (1).
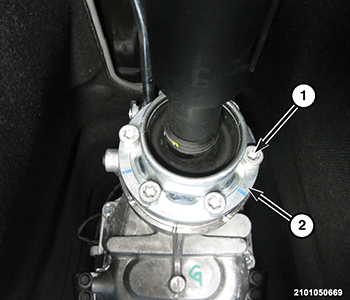
- Remove the drive shaft to transmission flange (1) bolts and washers (2).
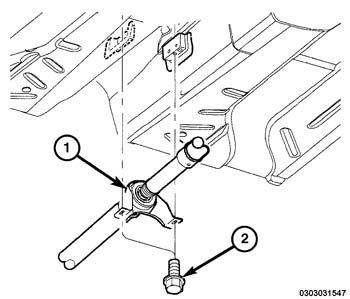
- Remove the center bearing bracket (1) bolts (2).
- Remove the drive shaft to axle flange bolts (1) and washers (2).
- With the aid of an assistant, remove the drive shaft assembly.