Rear Axle
- Install new circlip(s), on the halfshaft(s).
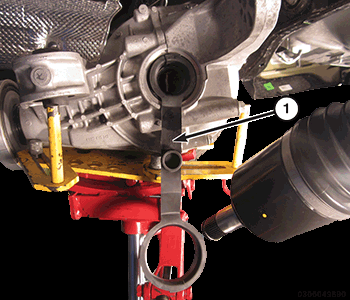
- Install the Protector, Half Shaft, Drive (special tool #10270, Protector, Half Shaft, Drive) (1) in the rear axle.NOTE:
Use care when installing halfshaft to axle assembly. The halfshaft installation angle should be minimized to avoid damage to seal upon installation.
NOTE:Use care not to damage the axle seal or the seal dust cover.
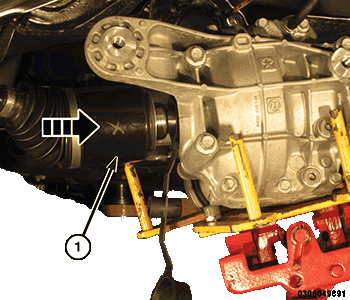
- With the Protector, Half Shaft, Drive (special tool #10270, Protector, Half Shaft, Drive) (1) installed and the aid of an assistant, shift the rear axle assembly in one direction and compress one halfshaft inner joint as far as possible while installing the other halfshaft (1).NOTE:
Do not grasp the rubber boot or the axle bar when checking for proper installation.
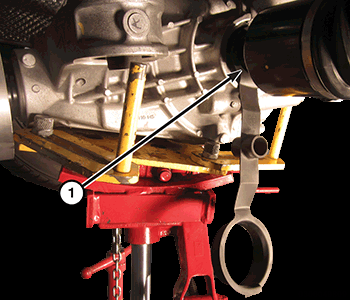
- Remove the Protector, Half Shaft, Drive (special tool #10270, Protector, Half Shaft, Drive) (1) and fully install the halfshaft in the rear axle. Verify proper installation by pulling outward on the joint by hand.
- Raise the rear axle assembly into position.
- Install the NEW
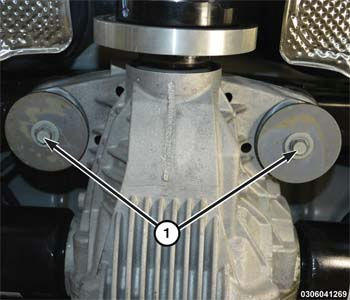
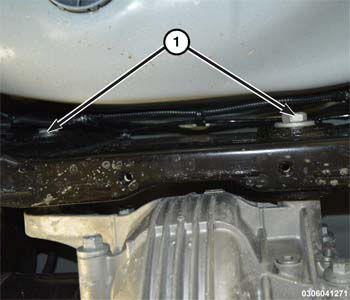
rear axle forward mount isolator bolts (1) hand tight.
- Install the rear axle to crossmember bolts (1) hand tight.
- Tighten the NEW rear axle forward mount isolator bolts to the proper torque specifications. Refer to TORQUE SPECIFICATIONS .
- Tighten the rear axle to crossmember bolts to the proper torque specifications. Refer to TORQUE SPECIFICATIONS .
- Again verify halfshaft inner joints are fully engaged in the axle assembly.
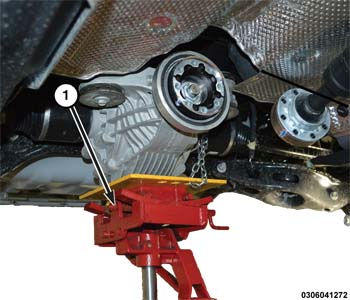
- Remove transmission jack (1).
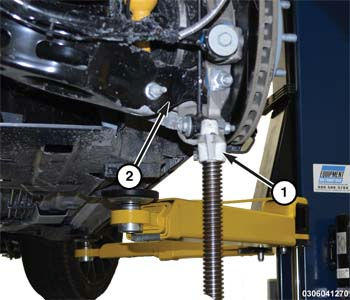
- If used, remove screw-type under-hoist jack stands (1).
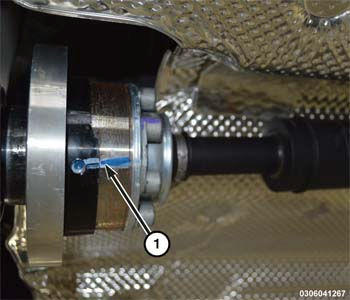
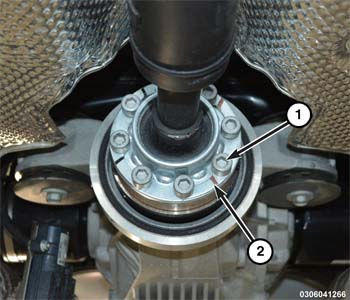
- Align propeller shaft index marks (1).NOTE:
Drive shaft bolts must be replaced with NEW . If NEW bolts are not available clean the old bolts and apply Mopar® Lock and Seal Adhesive or equivalent.
- Install the NEW drive shaft washers (2) and bolts (1) and tighten in a star pattern to 66 Nm (49 ft.-lbs.).
- Install the rear exhaust system. Refer to MUFFLER, EXHAUST, INSTALLATION
.NOTE:
If significant fluid loss occurred while installing the rear axle proceed to step 16.
If there was no fluid loss proceed to step 19.
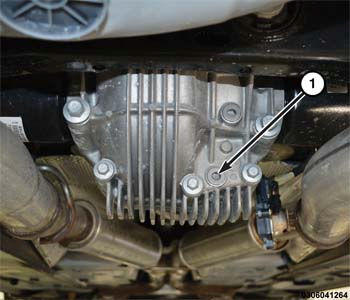
- Remove rear axle drain plug (1) and drain the rear axle fluid.
- Install the rear axle drain plug (1) and tighten to the proper torque specifications. Refer to TORQUE SPECIFICATIONS
.
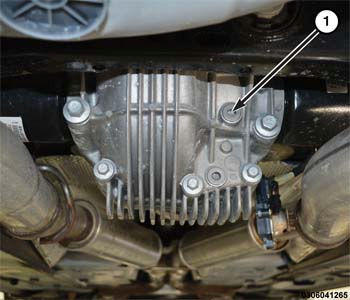
- Remove the rear axle fill plug (1) and fill the rear axle with the specified fluid. Refer to CAPACITIES AND RECOMMENDED FLUIDS, SPECIFICATIONS .
- Install the rear axle fill plug (1) and tighten to the proper torque specifications. Refer to TORQUE SPECIFICATIONS .
- Remove the support and lower the vehicle.