Knuckle, Rear: Installation
- If necessary, install a new knuckle lower bushing as follows:NOTE:
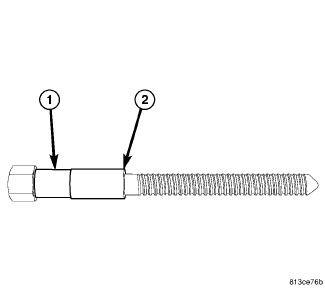
Prior to using the Tool (special tool #9361A, Rear Knuckle Sleeve Remover/Installer Kit), lubricate the bolt (1) threads to provide ease of use and promote tool longevity.
- Place the new knuckle sleeve (2) onto (special tool #9361-7, Screw, Installation) (1), and slide it up to bolt's head.
- Starting from knuckle forward end, slide (special tool #9361-7, Screw, Installation) (1) with sleeve through knuckle.
- Install the thrust bearing and nut. When installing thrust bearing on Installer, make sure to install the hardened side against nut. Place bearing outer cage against stationary component.
- Using hand tools, hold the bolt head (1) stationary, then rotate nut to install sleeve in the knuckle. Install sleeve until nut stops turning. Do not overtighten Nut.
- Remove the special tool.
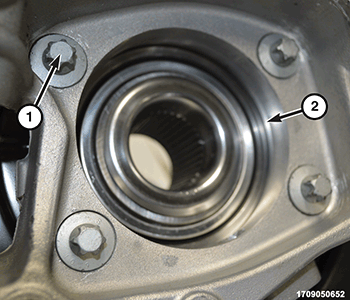
- Install the brake splash shield and hub bearing (2) in the knuckle and install the hub and bearing bolts (1). Tighten the to the proper torque specifications. Refer to TORQUE SPECIFICATIONS .
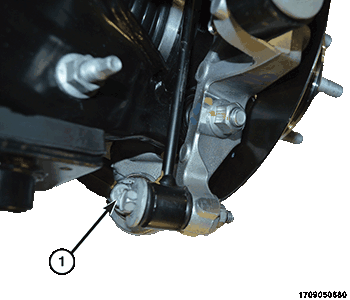
- Position the knuckle on the vehicle and install the spring link bolt (1). Do not tighten bolt at this time. NOTE:
Using a suitable tool, move the knuckle lower bushing inward to ease installation of the spring link onto the knuckle.
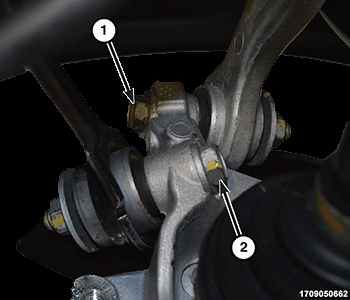
- Install the tension link (2) and the camber link (1) to knuckle bolts Do not tighten bolt at this time.
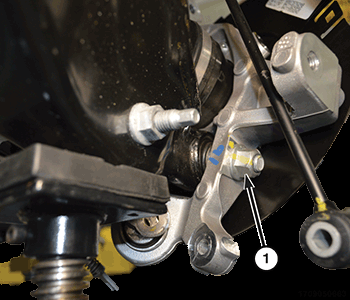
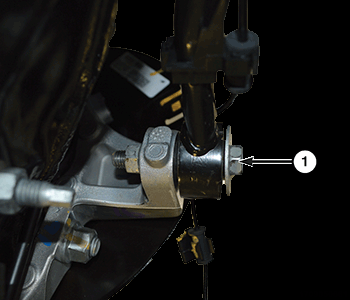
- Install the stabilizer link to the knuckle bolt (1). Do not tighten bolt at this time.
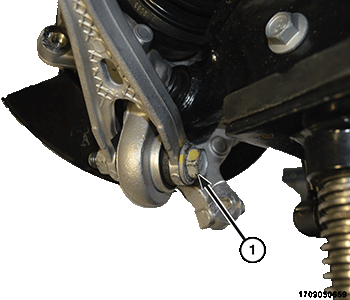
- Install the toe link (1) to knuckle bolt. Do not tighten bolt at this time.
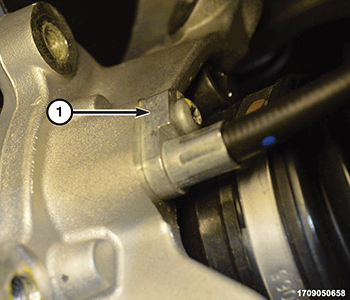
- Install the compression link to the knuckle bolt (1). Do not tighten bolt at this time.
- Insert end of parking brake cable (1) into the knuckle and install the parking brake cable bolt. Tighten the parking brake cable bolt to the proper torque specifications. Refer to TORQUE SPECIFICATIONS .
- Install the parking brake shoes. Refer to SHOES, PARKING BRAKE, INSTALLATION
.
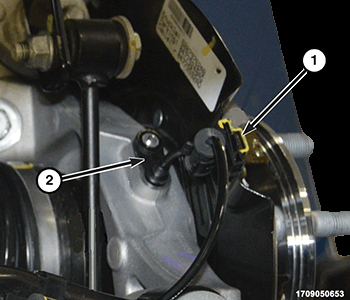
- Attach the wheel speed sensor connector (1) onto the brake splash shield. Install the wheel speed sensor into the knuckle (2), then install the wheel speed sensor bolt. Tighten the wheel speed sensor bolt to proper torque specifications. Refer to TORQUE SPECIFICATIONS .
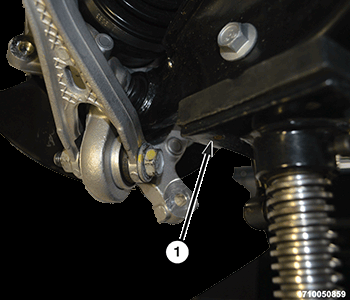
- Remove the support (1) from under the spring link.
- Install the brake caliper and the brake rotor
Refer to ROTOR, BRAKE, INSTALLATION .
- Lower vehicle.
- Adjust parking brake shoes as necessary. Refer to SHOES, PARKING BRAKE, ADJUSTMENTS .
- Position vehicle on alignment rack/drive-on hoist. Raise vehicle as necessary to access mounting bolts.
- Tighten the following fasteners to the proper torque specifications with vehicle at curb height: Refer to TORQUE SPECIFICATIONS .
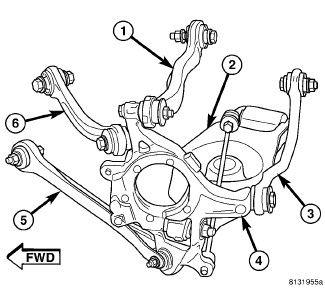
- Camber Link (1) to Knuckle Bolt.
- Compression Link (5) to Knuckle Bolt.
- Stabilizer Link to Knuckle Bolt.
- Tension Link (6) to Knuckle Bolt.
- Toe Link (3) to Knuckle Bolt.
- Spring Link to Knuckle Bolt.
- Perform wheel alignment. Refer to WHEEL ALIGNMENT, STANDARD PROCEDURE .