CROSSMEMBER, Headlamp Mounting: Installation
NOTE:
The Vehicle Emission Control Information (VECI) label(s) must be in place for the life of the vehicle. When replacing the component in which the VECI label is adhered, a new VECI label must also be adhered to the new component.
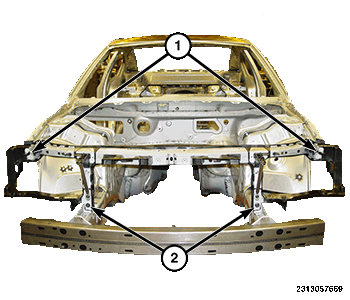
- Position the headlamp mounting crossmember (1) into the engine compartment.
- Loosely install the bolts (2 and 3) that secure the headlamp mounting crossmember to the front fenders.
- Loosely install the bolts (4) that secure the headlamp mounting crossmember to the front frame rails (5).
- Align the headlamp mounting crossmember using the alignment marks previously indicated and tighten all of the retaining bolts to the proper torque specifications. Refer to TORQUE SPECIFICATIONS .
- Install the bolts (2) that secure the radiator mounting bracket (1) to the headlamp mounting crossmember. Tighten the bolts to the proper torque specifications. Refer to TORQUE SPECIFICATIONS .
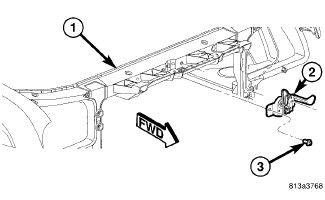
- Position the latch (2) to the front of the crossmember (1).
- Loosely install the two bolts (3) that secure the hood latch to the headlamp mounting crossmember.
- Align the hood latch using the alignment marks previously indicated and tighten the hood latch bolts to the proper torque specifications. Refer to TORQUE SPECIFICATIONS .
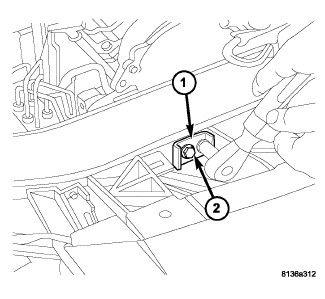
- Install the horns onto the headlamp mounting crossmember. Tighten the bolts to the proper torque specifications. Refer to TORQUE SPECIFICATIONS .
- Connect the headlamp wire harness to the horns.
- Install the headlamp units (1).
- Install the front fascia Refer to FASCIA, FRONT, INSTALLATION .
- Reconnect the negative battery cable.
- Carefully close the hood and verify hood latch and panel alignment. Adjust as necessary.
- If equipped with ACC (Adaptive Cruise Control), module must be realigned.