Panel, Rear Door Trim: Installation
- Prior to installation, check to be certain that all snap retainers are in good condition on the door trim panel and the door's carrier plate. Replace if necessary.
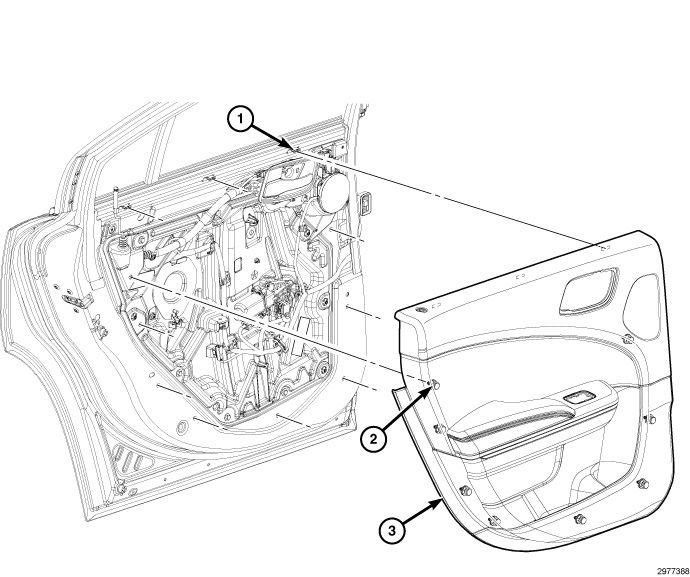
- Position the door trim panel near the door. Do not install at this time.
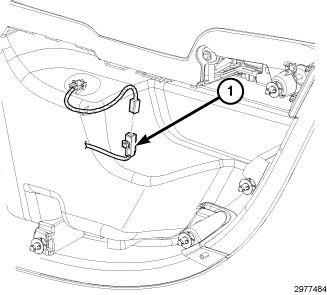
- Connect the map light harness (1).
- Feed the latch handle assembly on an angle through the opening in the door trim panel (3). Once the latch handle is fed through the opening, snap it into place.
- Using firm pressure, engage the door trim snap retainers (1, 2) into the door's carrier plate.
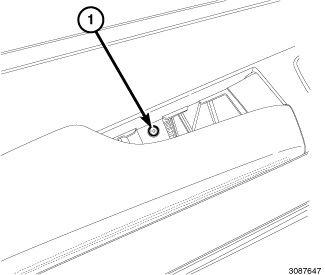
- Install the screw (1) just behind the armrest. Tighten the screw to 2 N.m (16 in. lbs.).
- Connect and install the power window switch. Refer to SWITCH, POWER WINDOW, INSTALLATION
.
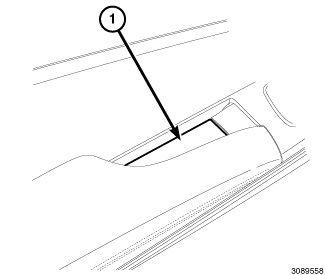
- Install the trim plate (1) just behind the armrest.
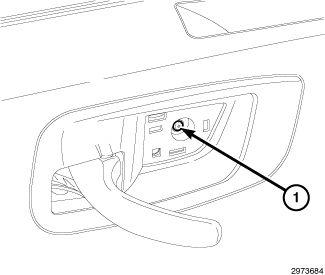
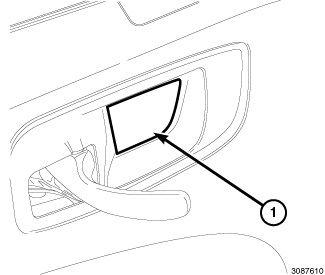
- Pull out on interior latch handle and install the screw (1) securing the latch handle to the carrier plate. Tighten the screw to 2 N.m (16 in. lbs.).
- Pull out on interior latch handle and install the trim plate (1).NOTE:
For vehicles equipped with the optional Automatic Express Up power window feature, calibration of this feature is required whenever power to the door module is disrupted.
A battery reconnect procedure must be performed anytime the battery has been disconnected.
- Connect the battery negative cable.